

Okay, this is something that I’ve known for years had to be in there, and had to be easy, but couldn’t find any lessons on anywhere and eventually just gave up looking. But last night I found it, buried in a sidebar in Manga: The Ultimate Guide to Mastering Digital Painting Techniques (ImagineFX), and it works beautifully! It sure as heck works better than the “select color range and delete white” method I’ve been using until now!
Anyway, I’m posting this here for my own easy reference, but I figure other folks might be looking for it too. I’m working in CS3; I’m sure these techniques exist in other versions as well, although the interface might be different.
This is an image-heavy post, so I’m going to put it behind a cut. But it’s a nifty, nifty technique!
Step One: Scan and Clean
Scan your image. You’ve probably got something that looks something like this:
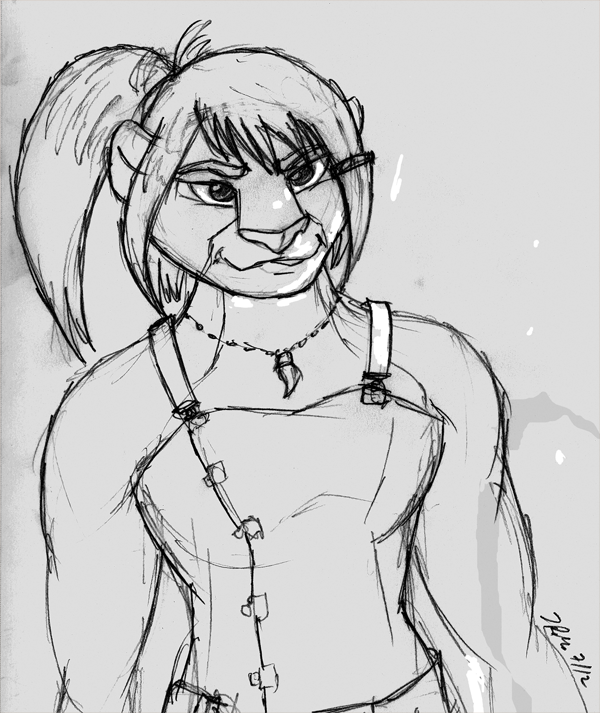
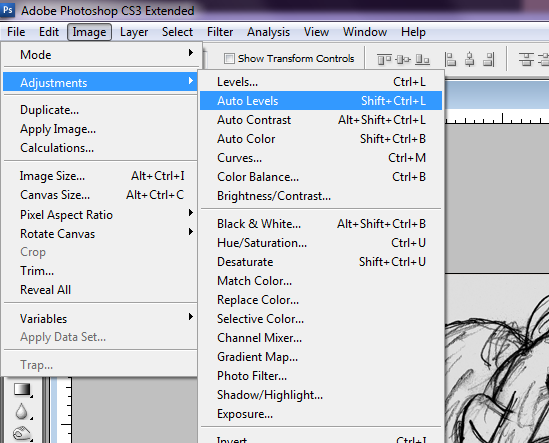
Not so pretty! Fortunately, “auto levels” can do some amazing things, and what it can’t fix, playing with the curves can. However, that’s a big topic in and of itself and is easier to find info on, so I’ll leave that for now.
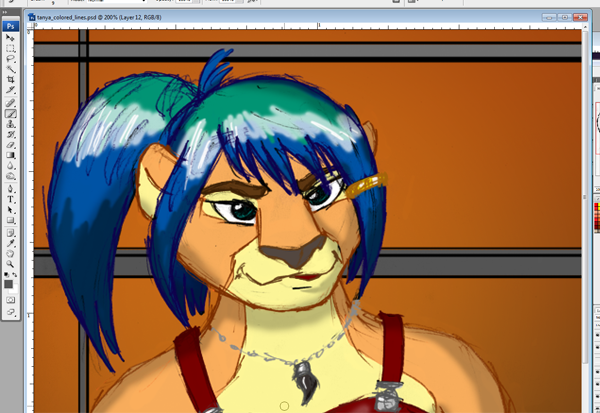
Step Two: Color the Pic!
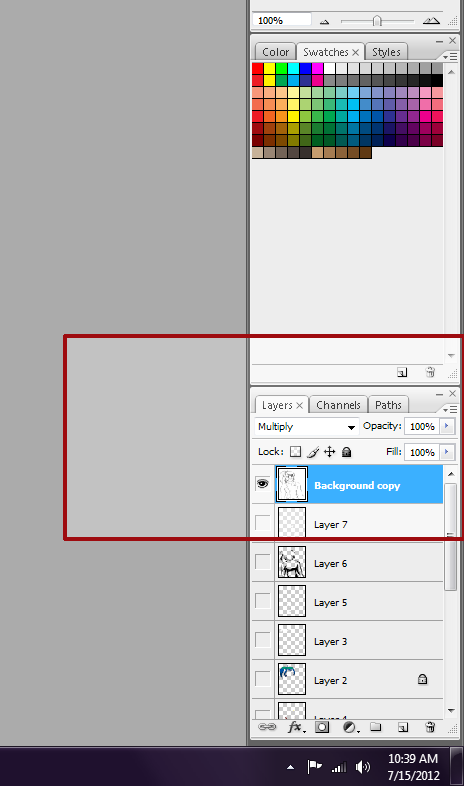
Once your inks are cleaned up, set the layer they’re on to “Multiply” and do your coloring on layers below it. Coloring the pic is also a big topic, as you might guess. ;)
I recommend you hide your background and colors for the next steps, just to make it easier to see what you’re doing, but it isn’t required to do so.
Step Three: Copy the Inks With a “Quick Mask”
Here’s the tricky bit! First, make a duplicate of you inks layer and set the mode back to “Normal.” This will become your colored ink layer. Hide the original inks layer, but don’t delete it, in case you need it again for something later.
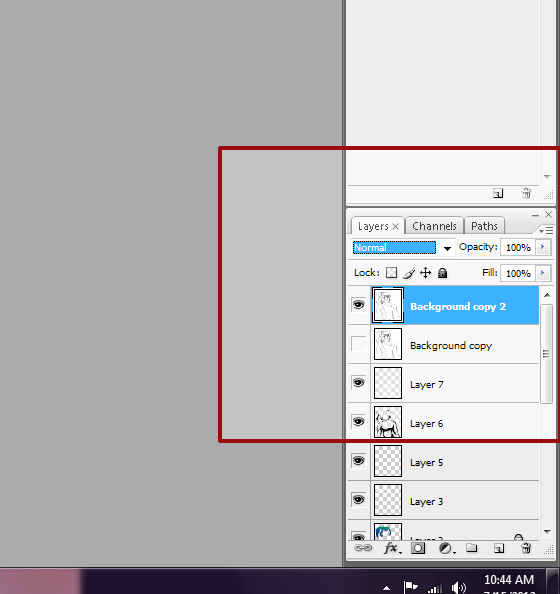
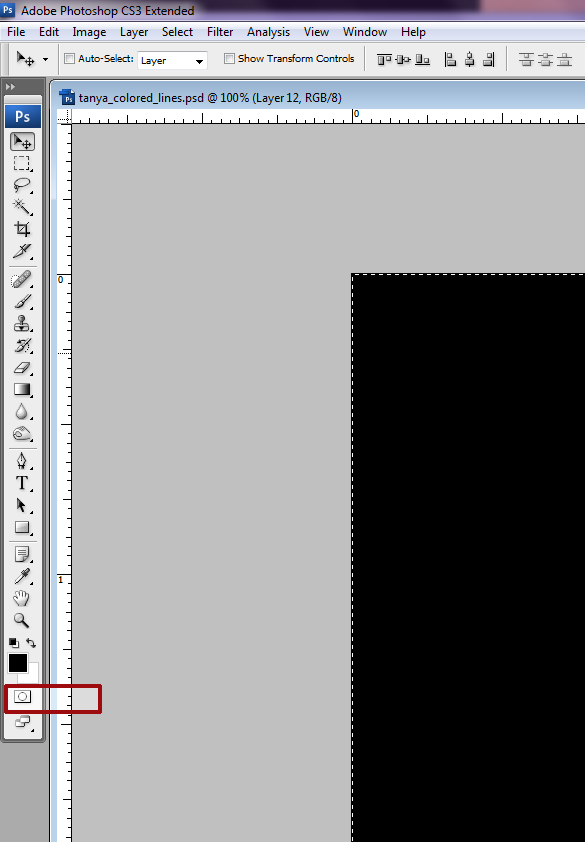
Use CTRL+A (or CMD+A on a Mac) to select the whole new inks layer, and CTRL+C to copy it. Create a new layer above it and fill that layer with black. Then use the “quick mask” button in the left toolbar to create a mask and CTRL-V to paste the inks in. That will give you a creepy Sith version of your picture, red-on-black.
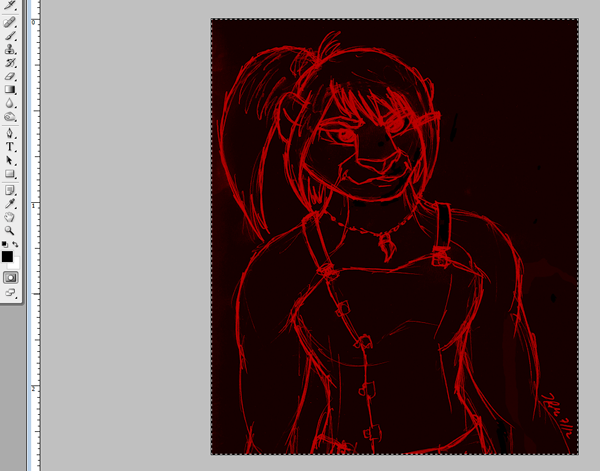
Turn off the quick mask with the left toolbar button. That will give you a black layer with everything that’s not your inks selected. Then just hit your DEL key, and BOOM! Isolated outlines. AWESOME. Set the layer to “Lock Transparency” and start paintin’!
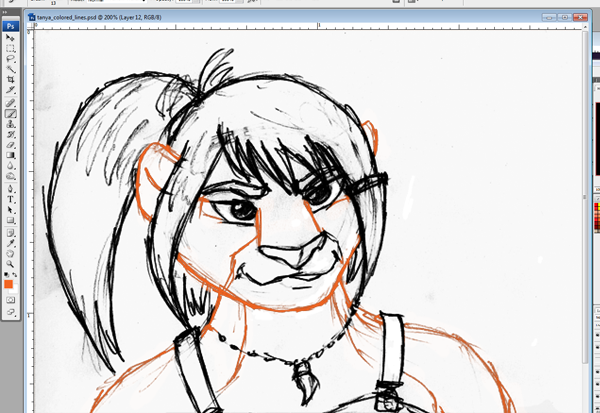
Step Four: Color the Image
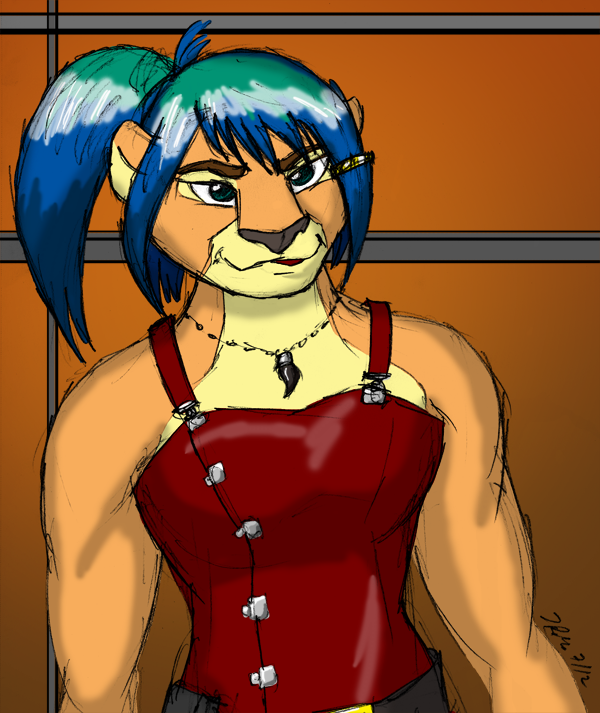
By turning your background and colors back on, you can find edge colors that will match the areas of the character you’re coloring, but still be dark enough to work as an “outline,” creating a vibrant, colorful look.
Questions, comments, suggestions? I’d love to hear ’em!
-The Gneech

Nice. I’ve tried doing a variant of that myself in the past but not using that technique. I’ll have to give it a whirl.
See, this would have been SO useful when I was doing my webcomic and all my output was basically on paper! Nowadays I do mostly digital because it’s less messy… but I might just try this ;3